
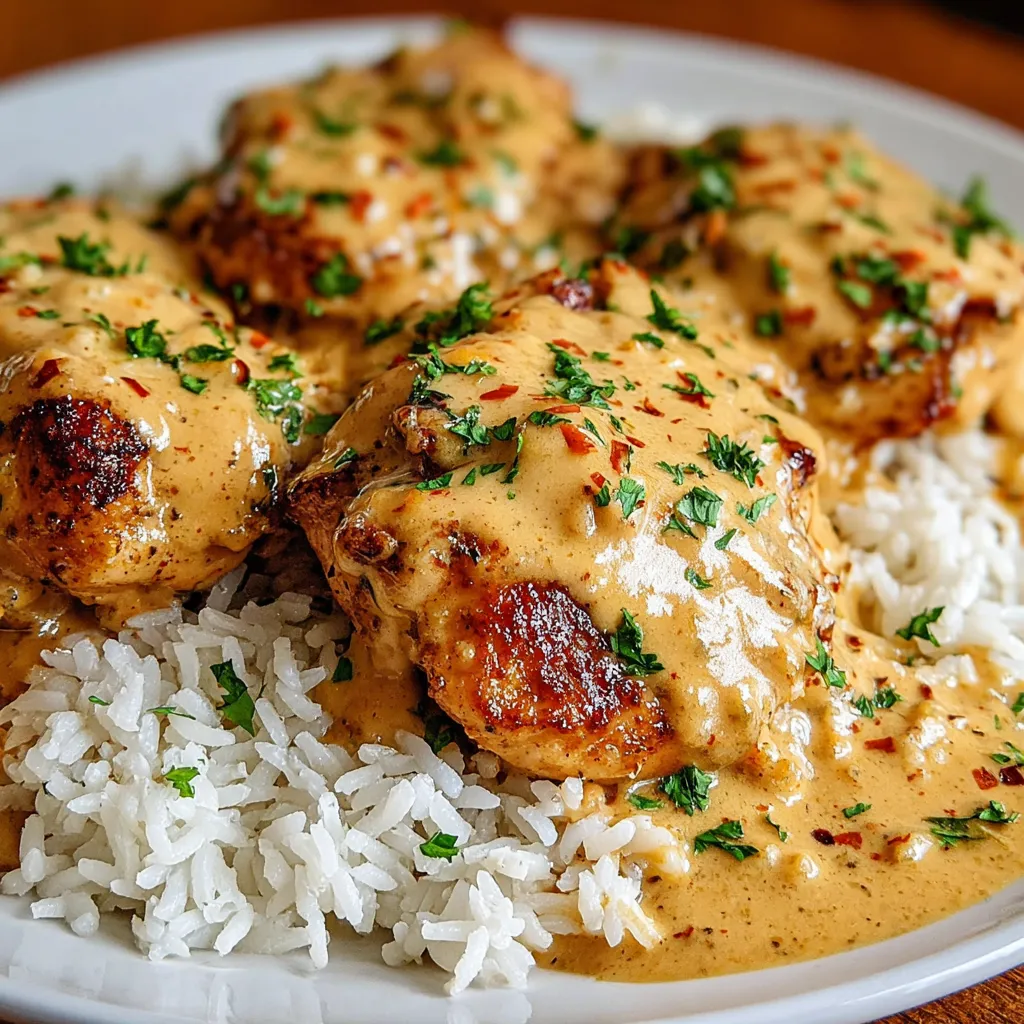
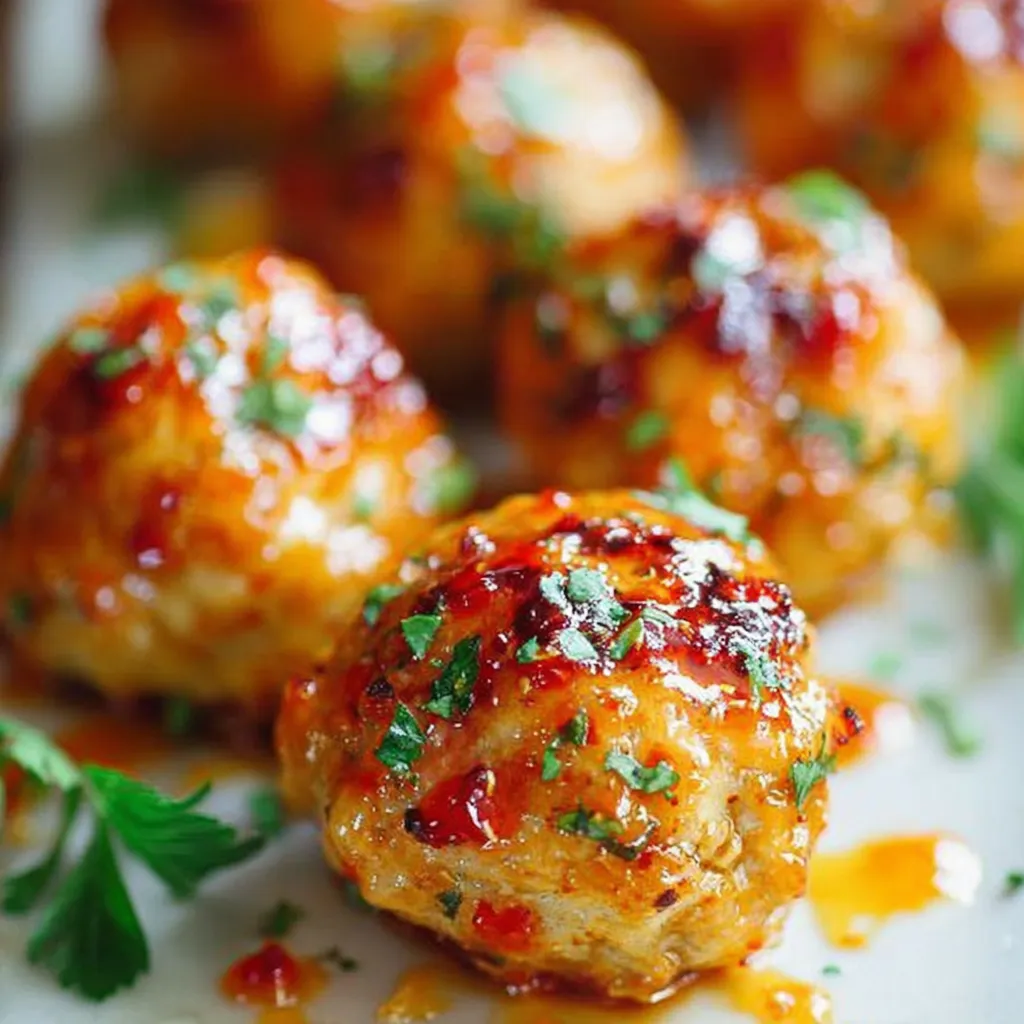
Is there a dish more comforting and seemingly simple than Chicken & Rice? The answer, as I discovered, is both yes and no. While the concept is straightforward – chicken, rice, and some form of liquid – achieving a truly exceptional Chicken & Rice, one that transcends the ordinary and reaches culinary heights, requires a deeper understanding of the underlying science and a willingness to experiment.
The Alchemy of Chicken & Rice: Unlocking Flavor and Texture
At its heart, Chicken & Rice is a study in moisture management and flavor infusion. The key lies in understanding how the rice absorbs the cooking liquid, carrying with it the savory essence of the chicken and any accompanying aromatics. The type of rice matters immensely. Long-grain rice, like basmati or jasmine, tends to stay separate and fluffy, while short-grain rice, such as arborio, releases more starch, resulting in a creamier, almost risotto-like consistency. The chicken, too, plays a crucial role. Bone-in, skin-on chicken thighs will render more fat and collagen, enriching the broth and adding depth of flavor compared to boneless, skinless chicken breasts, which, while leaner, can easily become dry if not handled carefully.
Furthermore, the Maillard reaction, that glorious browning process that occurs when proteins and sugars are heated, is your best friend. Searing the chicken before adding the rice and liquid develops those complex, savory flavors that elevate the dish from bland to brilliant. Finally, the liquid itself – whether it’s water, chicken broth, or a combination thereof – dictates the final flavor profile. Using homemade chicken broth, simmered from roasted chicken bones, will undoubtedly yield a far more flavorful result than using store-bought broth.
The Definitive Chicken & Rice Recipe

Ingredients:
- 1.5 lbs bone-in, skin-on chicken thighs
- 1 tbsp olive oil
- 1 medium yellow onion, diced
- 2 cloves garlic, minced
- 1 cup long-grain rice (basmati or jasmine)
- 4 cups chicken broth (low sodium)
- 1 tsp dried thyme
- 1/2 tsp dried rosemary
- Salt and freshly ground black pepper to taste
- Optional: 1/2 cup chopped fresh parsley, for garnish
Instructions:
- Sear the Chicken: Pat the chicken thighs dry with paper towels and season generously with salt and pepper. Heat the olive oil in a large, heavy-bottomed pot or Dutch oven over medium-high heat. Sear the chicken thighs, skin-side down, for 5-7 minutes, or until the skin is golden brown and crispy. Flip and sear for another 2-3 minutes. Remove the chicken from the pot and set aside.
- Sauté Aromatics: Add the diced onion to the pot and cook until softened, about 5 minutes. Add the minced garlic and cook for another minute, until fragrant.
- Toast the Rice: Add the rice to the pot and toast for 2-3 minutes, stirring constantly, until lightly toasted and fragrant. This step helps to prevent the rice from becoming mushy.
- Combine and Simmer: Pour in the chicken broth and scrape up any browned bits from the bottom of the pot. Add the thyme and rosemary. Bring the mixture to a boil, then reduce the heat to low, return the chicken thighs to the pot, nestling them into the rice.
- Cook: Cover the pot tightly and simmer for 20-25 minutes, or until the rice is cooked through and the chicken is cooked to an internal temperature of 165°F (74°C). Avoid lifting the lid during cooking to prevent steam from escaping.
- Rest and Serve: Remove the pot from the heat and let it sit, covered, for 10 minutes. This allows the rice to fully absorb the remaining liquid and prevents it from becoming sticky.
- Shred Chicken and Serve: Remove the chicken thighs from the pot and shred the meat with two forks. Return the shredded chicken to the pot and fluff the rice with a fork. Garnish with fresh parsley, if desired, and serve immediately.
My Chicken & Rice Odyssey: From Culinary Catastrophe to Comfort Food Champion
The Early Days: A Soggy, Bland Disaster
My first few attempts at Chicken & Rice were a disaster. Like many of you, I initially thought it was just a matter of throwing everything into a pot and hoping for the best. The result? Soggy, flavorless rice and dry, overcooked chicken. The chicken was often similar to the chicken found in Creamy Garlic Parmesan Crockpot Chicken when cooked for too long in the crockpot. It was edible, but far from enjoyable. I was convinced that Chicken & Rice was destined to remain a culinary enigma, a dish forever beyond my grasp.
The Bone-In Revelation: Flavor’s Secret Weapon
Then, I had an “Aha!” moment. I realized that I was neglecting the importance of fat and collagen. Switching from boneless, skinless chicken breasts to bone-in, skin-on chicken thighs was a game-changer. The fat rendered during cooking infused the rice with flavor, while the collagen created a richer, more luscious broth. It was a revelation! This single change drastically improved the overall taste and texture of the dish. I started to wonder what other changes would impact the flavor. I wanted to test chicken breasts again, but this time I knew that I would have to carefully monitor the chicken, as one would do with Chicken Parmesan Casserole in order to prevent the chicken from drying out.
The Rice Race: Unlocking the Perfect Grain
Next, I tackled the rice. I experimented with different varieties – long-grain, short-grain, brown rice, even wild rice. I discovered that long-grain rice, such as basmati or jasmine, yielded the best results for my personal preference. It stayed separate and fluffy, providing a delightful contrast to the tender chicken. While short-grain rice created a creamier dish, it sometimes veered towards mushiness if not cooked carefully. I tried using instant rice once, and the result was a texture similar to what you might find in Cheesy Garlic Chicken Wraps, but unfortunately, the flavor was missing.
The Broth is Boss: Liquid Gold
The broth was the final piece of the puzzle. I started with store-bought chicken broth, which was decent but lacked depth. Then, I tried making my own. Simmering roasted chicken bones with vegetables and herbs created a broth that was bursting with flavor. It elevated the Chicken & Rice to a whole new level. It was like the difference between instant coffee and a perfectly brewed espresso. I discovered that I could also use leftover rotisserie chicken to create a delicious broth, much like the broth used in Rotisserie Chicken Mushroom Soup.
The Browning Bonus: Maillard Magic
I also learned to appreciate the power of the Maillard reaction. Searing the chicken before adding the rice and liquid created those complex, savory flavors that are essential for a truly exceptional dish. This is a crucial step that many novice cooks often overlook, but it makes a world of difference. It is the same step that makes all the difference in a dish like Chicken Spinach Mushroom Bake.
Spicing Things Up: A World of Flavor
Finally, I began experimenting with different spices and herbs. Thyme, rosemary, paprika, garlic powder – the possibilities were endless! I discovered that a simple combination of dried thyme and rosemary complemented the chicken perfectly. I also experimented with adding a touch of turmeric for color and a hint of warmth. It opened up the flavor, as if a new layer of flavor was added to the base, much like when you add the cheese to Mexican Chicken Cheese Rice Casserole.
The Foolproof Chicken & Rice Technique: A Step-by-Step Guide to Perfection
After countless attempts and numerous tweaks, I’ve finally cracked the code to perfect Chicken & Rice. Here’s the foolproof technique I’ve developed:
- Choose the Right Chicken: Opt for bone-in, skin-on chicken thighs for maximum flavor and moisture.
- Sear the Chicken: Pat the chicken dry and sear it in a hot pot to develop those crucial Maillard reaction flavors.
- Sauté Aromatics: Sauté diced onion and minced garlic in the rendered chicken fat to create a flavorful base.
- Toast the Rice: Toast the rice briefly to prevent it from becoming mushy.
- Use Homemade Broth: If possible, use homemade chicken broth for the best flavor.
- Simmer, Don’t Boil: Bring the mixture to a boil, then reduce the heat to low and simmer gently.
- Resist the Urge to Peek: Avoid lifting the lid during cooking to prevent steam from escaping.
- Rest Before Serving: Let the dish rest, covered, for 10 minutes after cooking to allow the rice to fully absorb the liquid.
- Shred the Chicken: Shred the chicken and return it to the rice for easy serving.
- Garnish and Enjoy: Garnish with fresh herbs, such as parsley, and serve immediately.
Why does the recipe recommend using bone-in, skin-on chicken thighs instead of boneless, skinless chicken breasts?
Bone-in, skin-on chicken thighs render more fat and collagen, enriching the broth and adding depth of flavor compared to boneless, skinless chicken breasts. This results in a more flavorful and moist dish.
What is the purpose of toasting the rice before adding the liquid?
Toasting the rice for 2-3 minutes helps to prevent it from becoming mushy during the cooking process.
Why is it important to avoid lifting the lid during the simmering process?
Avoid lifting the lid during cooking to prevent steam from escaping. This helps to maintain the proper cooking temperature and moisture levels for the rice.
What kind of rice is recommended for the best texture?
Long-grain rice, such as basmati or jasmine, is recommended because it tends to stay separate and fluffy, providing a delightful contrast to the tender chicken.
Best Chicken and Rice Recipe
Ingredients
Equipment
Method
- Pat the chicken thighs dry with paper towels and season generously with salt and pepper.
- Heat the olive oil in a large, heavy-bottomed pot or Dutch oven over medium-high heat.
- Sear the chicken thighs, skin-side down, for 5-7 minutes, or until the skin is golden brown and crispy. Flip and sear for another 2-3 minutes. Remove the chicken from the pot and set aside.
- Add the diced onion to the pot and cook until softened, about 5 minutes.
- Add the minced garlic and cook for another minute, until fragrant.
- Add the rice to the pot and toast for 2-3 minutes, stirring constantly, until lightly toasted and fragrant.
- Pour in the chicken broth and scrape up any browned bits from the bottom of the pot. Add the thyme and rosemary.
- Bring the mixture to a boil, then reduce the heat to low, return the chicken thighs to the pot, nestling them into the rice.
- Cover the pot tightly and simmer for 20-25 minutes, or until the rice is cooked through and the chicken is cooked to an internal temperature of 165°F (74°C). Avoid lifting the lid during cooking to prevent steam from escaping.
- Remove the pot from the heat and let it sit, covered, for 10 minutes. This allows the rice to fully absorb the remaining liquid and prevents it from becoming sticky.
- Remove the chicken thighs from the pot and shred the meat with two forks. Return the shredded chicken to the pot and fluff the rice with a fork.
- Garnish with fresh parsley, if desired, and serve immediately.

")