
The Crispy Science: Understanding the Frying Fundamentals
To truly master crispy fried flounder, we need to delve into the science behind it. The goal is twofold: to quickly cook the fish through without drying it out, and to create a coating that’s both protective and irresistibly crunchy. This involves several key principles:- Maillard Reaction: This is the chemical reaction between amino acids and reducing sugars that gives browned food its distinctive flavor. High heat is crucial for this to occur rapidly on the surface of the batter.
- Starch Gelatinization: When starch granules are heated in the presence of water, they absorb the water and swell, creating a gel-like structure. This process contributes to the structure of the crust. Different starches gelatinize at different temperatures, which affects the texture.
- Moisture Control: Excess moisture is the enemy of crispiness. The surface of the fish *must* be as dry as possible before coating, and the coating itself needs to be relatively dry to absorb moisture released during frying.
- Oil Temperature: Maintaining a consistent oil temperature is paramount. Too low, and the food will absorb excess oil and become soggy. Too high, and the outside will burn before the inside is cooked. A deep-fry thermometer is your best friend here. The oil is also what transfers the heat to the fish and the coating around it. Choosing the right oil that can withstand high temperature is also important.
- Surface Area: More surface area of the coating that is exposed to the hot oil will increase the amount of crispy texture.
The Ultimate Crispy Fried Flounder Recipe
 This recipe incorporates the scientific principles outlined above to guarantee a restaurant-quality crispy fried flounder every time.
Yields
4 servingsPrep time
20 minutesCook time
10 minutesIngredients
- 1.5 lbs Flounder fillets, skin removed, and patted dry
- 1 cup All-purpose flour
- 1/2 cup Cornstarch
- 1 tbsp Baking powder
- 1 tsp Salt
- 1/2 tsp Black pepper
- 1/2 tsp Garlic powder
- 1/2 tsp Paprika
- 1 cup Buttermilk
- 2 tbsp Hot sauce (optional, for extra flavor)
- Vegetable oil, for frying (approximately 4 cups)
- Lemon wedges, for serving
- Tartar sauce, for serving (optional)
Equipment
- 3 shallow dishes or pie plates
- Deep-fry thermometer
- Large pot or deep fryer
- Tongs
- Wire rack
Instructions
- Prepare the Fish: Cut the flounder fillets into manageable pieces, about 4-6 inches long. Pat them *completely* dry with paper towels. This is crucial for a crispy coating.
- Set up the Breading Station: In the first shallow dish, combine the flour, cornstarch, baking powder, salt, pepper, garlic powder, and paprika. Whisk together thoroughly. The cornstarch adds extra crispiness, while the baking powder helps create a light and airy batter.
- Prepare the Wet Mixture: In the second shallow dish, whisk together the buttermilk and hot sauce (if using). Buttermilk adds a tangy flavor and helps the coating adhere to the fish.
- Breading Process: Dredge each piece of flounder in the flour mixture, ensuring it’s completely coated. Shake off any excess. Then, dip it into the buttermilk mixture, allowing the excess to drip off. Finally, dredge it again in the flour mixture, pressing gently to ensure a good coating. This double-dredging technique is key for maximum crispiness.
- Heat the Oil: Pour vegetable oil into a large pot or deep fryer to a depth of about 2-3 inches. Heat the oil over medium-high heat to 350°F (175°C). Use a deep-fry thermometer to monitor the temperature.
- Fry the Flounder: Carefully add the breaded flounder pieces to the hot oil, working in batches to avoid overcrowding the pot. Overcrowding will lower the oil temperature and result in soggy fish. Fry for 2-3 minutes per side, or until golden brown and cooked through. The internal temperature of the fish should reach 145°F (63°C).
- Drain and Serve: Remove the fried flounder from the oil with tongs and place it on a wire rack to drain excess oil. This is essential for maintaining crispiness. Don’t place it directly on paper towels, as this will trap steam and make the coating soggy. Serve immediately with lemon wedges and tartar sauce, if desired. The perfect accompaniment to this crispy fish is a Shrimp Tacos.
The Investigation: My Quest for the Perfect Crispy Flounder
My first few attempts were a disaster. I’d end up with either soggy, oily fish or a burnt exterior with a raw interior. It was frustrating, to say the least. Like many of you, I initially thought that simply dipping the fish in flour and frying it would suffice. Wrong!The Soggy Saga
My initial problem was moisture. I wasn’t drying the fish properly, and the single layer of flour couldn’t handle the moisture released during cooking. The oil temperature would plummet when the fish was added, resulting in a soggy, oily mess. I tried using different types of flour, but nothing seemed to work.The Burned Offering
Then, I overcompensated by increasing the oil temperature. This resulted in a beautifully browned exterior, but the inside was still raw. I realized I was cooking the coating much faster than the fish itself.The ‘Aha!’ Moment: The Double Dredge
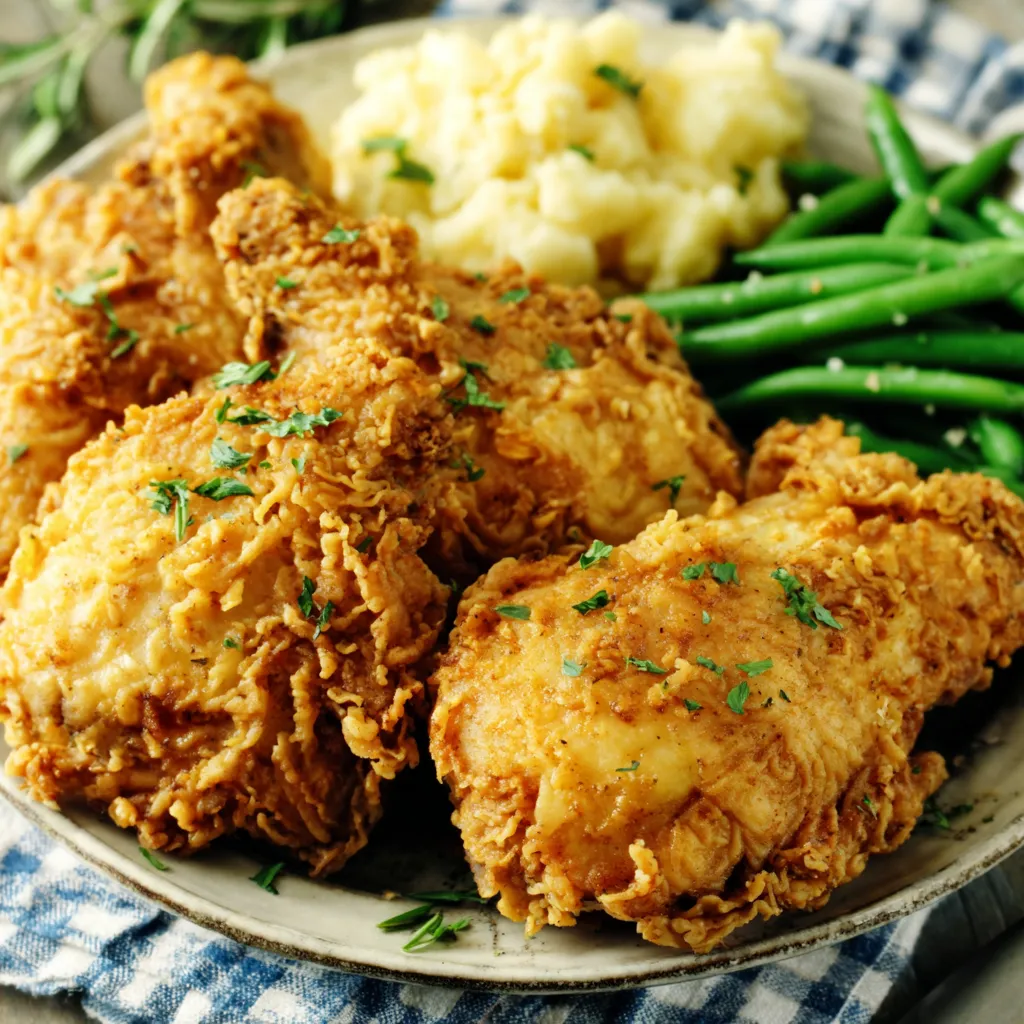
Then, I had an ‘Aha!’ moment while thinking about southern fried chicken. The secret, I realized, was in the double dredge! Coating the fish in flour, then buttermilk, then flour again created a thicker, more protective layer that could withstand the high heat and seal in the moisture.Cornstarch and Baking Powder: The Crispiness Boosters
Experimenting with different ingredients, I discovered the power of cornstarch and baking powder. The cornstarch added extra crispiness, while the baking powder created a lighter, airier texture. The addition of hot sauce to the buttermilk also added a wonderful depth of flavor. This would go great with Spicy Shrimp Tacos.Temperature Control: The Game Changer
Finally, I invested in a good deep-fry thermometer. Maintaining a consistent oil temperature was a game changer. It allowed me to cook the fish through without burning the coating. Once I mastered the art of temperature control, I was able to consistently produce perfectly crispy fried flounder. I’ve even used this method to create a fantastic Crispy Fish Fry!The Technique: A Foolproof Method for Crispy Fried Flounder
Here’s a summary of the foolproof method I developed through my culinary investigation:- Dry the Fish: Pat the flounder fillets completely dry with paper towels. This is the most crucial step.
- Double Dredge: Coat the fish in flour mixture, then buttermilk, then flour mixture again.
- Maintain Oil Temperature: Use a deep-fry thermometer to maintain a consistent oil temperature of 350°F (175°C).
- Don’t Overcrowd: Fry the fish in batches to avoid lowering the oil temperature.
- Drain on a Wire Rack: Place the fried flounder on a wire rack to drain excess oil and maintain crispiness.
What is the most crucial step for achieving crispy fried flounder?
The most crucial step is to pat the flounder fillets completely dry with paper towels before coating them.
Why is a double dredge (flour, buttermilk, flour) recommended in the recipe?
The double dredge creates a thicker, more protective layer that can withstand the high heat and seal in the moisture, leading to a crispier result.
What is the ideal oil temperature for frying flounder and why is it important?
The ideal oil temperature is 350°F (175°C). Maintaining a consistent oil temperature is important because if the oil is too low, the fish will become soggy, and if it’s too high, the outside will burn before the inside is cooked.
Why should the fried flounder be drained on a wire rack instead of paper towels?
Draining the fried flounder on a wire rack allows excess oil to drip off and prevents steam from being trapped, which would make the coating soggy. Paper towels trap steam, defeating the purpose.
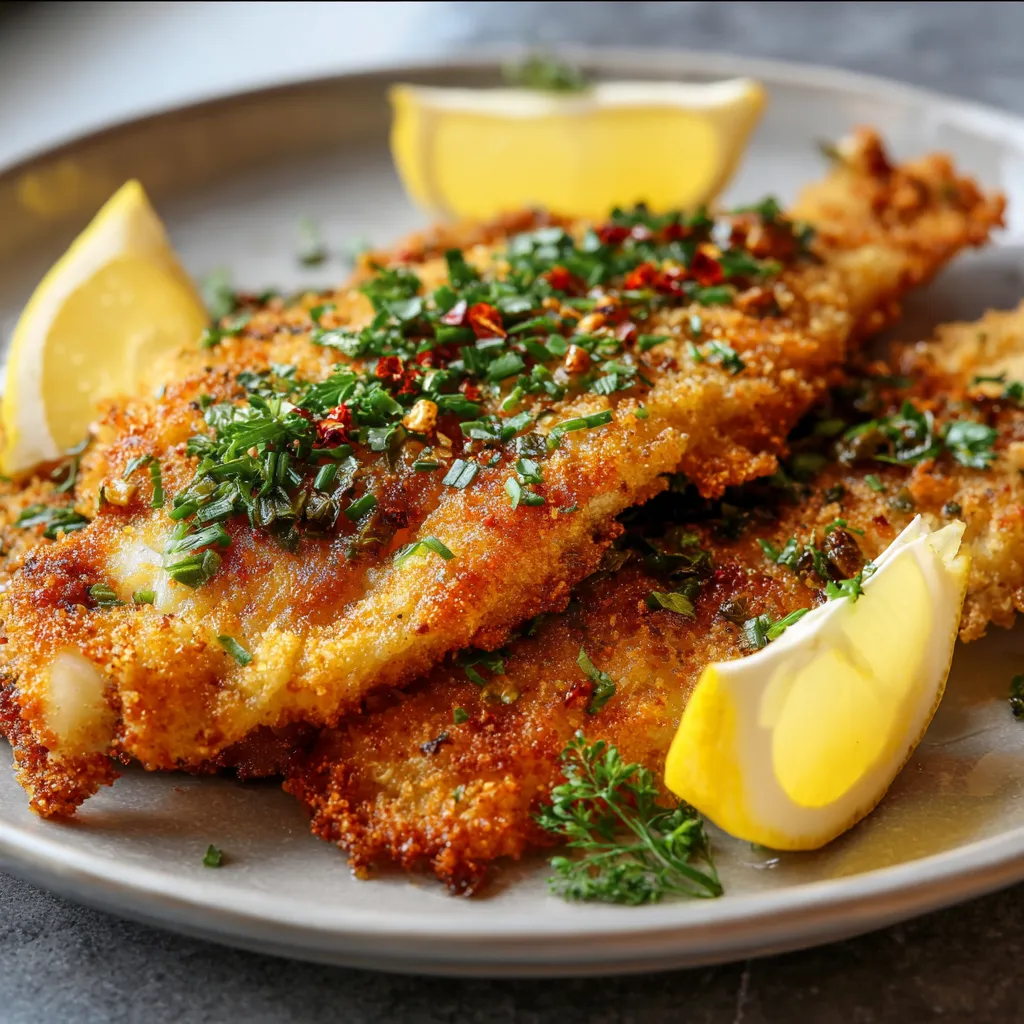
BEST Crispy Fried Flounder
This recipe delivers perfectly crispy fried flounder with a golden-brown, shatteringly crisp coating. The secret lies in a double dredge technique, precise oil temperature control, and thorough drying of the fish. Serve immediately with lemon wedges and tartar sauce for a restaurant-quality meal.
Ingredients
Equipment
Method
- Prepare the Fish: Cut the flounder fillets into manageable pieces, about 4-6 inches long. Pat them completely dry with paper towels.
- Set up the Breading Station: In the first shallow dish, combine the flour, cornstarch, baking powder, salt, pepper, garlic powder, and paprika. Whisk together thoroughly.
- Prepare the Wet Mixture: In the second shallow dish, whisk together the buttermilk and hot sauce (if using).
- Breading Process: Dredge each piece of flounder in the flour mixture, ensuring it’s completely coated. Shake off any excess. Then, dip it into the buttermilk mixture, allowing the excess to drip off. Finally, dredge it again in the flour mixture, pressing gently to ensure a good coating.
- Heat the Oil: Pour vegetable oil into a large pot or deep fryer to a depth of about 2-3 inches. Heat the oil over medium-high heat to 350°F (175°C). Use a deep-fry thermometer to monitor the temperature.
- Fry the Flounder: Carefully add the breaded flounder pieces to the hot oil, working in batches to avoid overcrowding the pot. Fry for 2-3 minutes per side, or until golden brown and cooked through. The internal temperature of the fish should reach 145°F (63°C).
- Drain and Serve: Remove the fried flounder from the oil with tongs and place it on a wire rack to drain excess oil. Serve immediately with lemon wedges and tartar sauce, if desired.
Notes
Ensure the flounder is completely dry before breading for maximum crispiness. Maintaining the oil temperature is crucial; use a deep-fry thermometer. Fry in batches to avoid overcrowding. Drain on a wire rack to prevent sogginess. For extra flavor, add hot sauce to the buttermilk. The double dredge technique is key for achieving the perfect crispy coating. You can substitute the flounder with other white fish fillets.

")