
The Melty-Savory Matrix: A Science-Based Breakdown
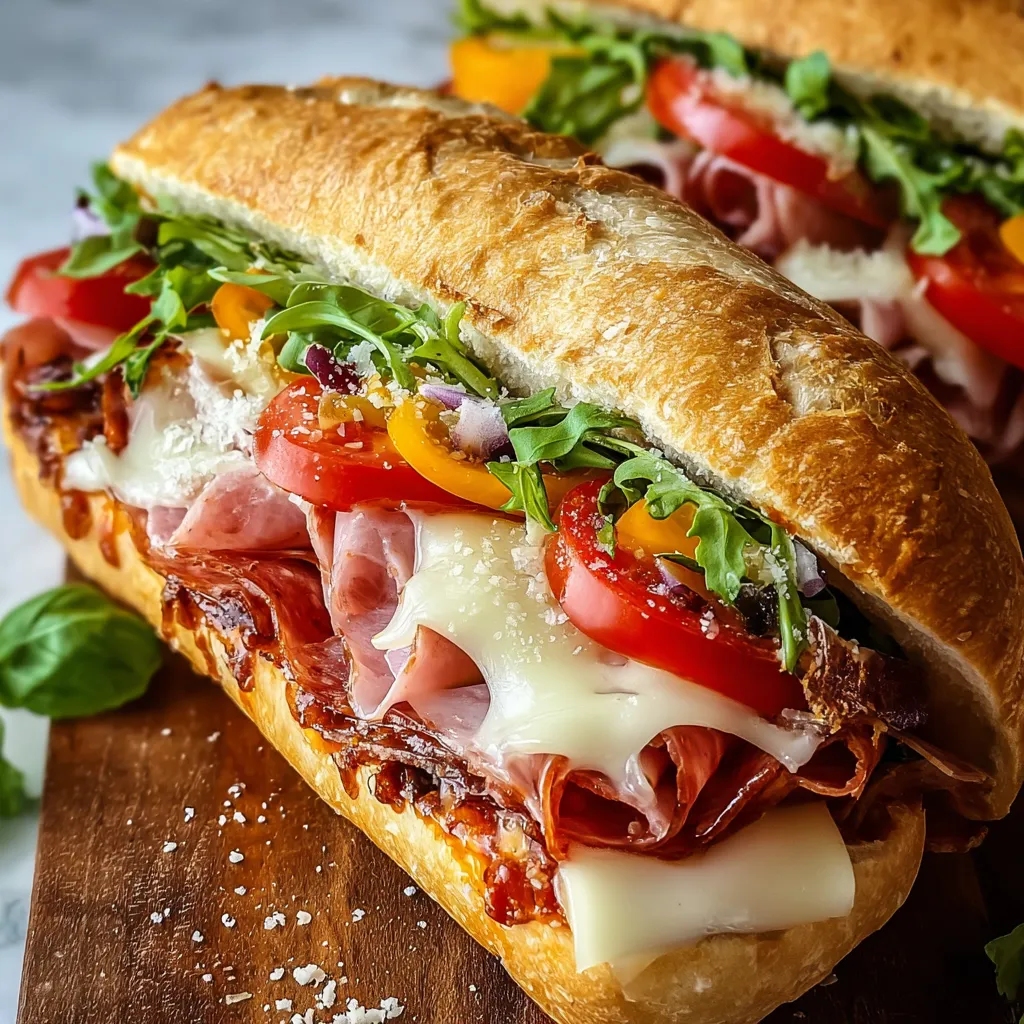
The magic of a truly exceptional baked Italian grinder lies in understanding the interplay of heat, moisture, and fat. Firstly, *Maillard reaction*: This is the browning reaction that occurs when amino acids and reducing sugars are heated, creating hundreds of flavor compounds. To maximize this, we need to ensure our fillings have some surface exposure to the oven’s heat. Secondly, *moisture control*: Excess moisture from ingredients like tomatoes or watery mozzarella will lead to a soggy sandwich. Finally, *fat dispersion*: Fat from the meats and cheese needs to distribute evenly throughout the sandwich, creating a luscious, flavorful bite. A well-chosen bread is also crucial. A loaf with a sturdy crust and a soft, absorbent interior will hold up best to the fillings and baking process. We need a bread that can stand tall and proud, just like a Million Dollar Lasagna (https://easymealstoprep.com/million-dollar-lasagna-irresistible/) does on the dinner table.The Ultimate Baked Italian Grinder Recipe
 This recipe has been meticulously tested and refined to deliver the perfect balance of flavor, texture, and structural integrity.
Ingredients:
- 1 large loaf (approx. 24 inches) Italian or French bread
- 1/2 pound thinly sliced ham
- 1/2 pound thinly sliced salami
- 1/2 pound thinly sliced pepperoni
- 1/4 pound provolone cheese, sliced
- 1/4 pound mozzarella cheese, sliced
- 1/4 cup grated Parmesan cheese
- 1/4 cup mayonnaise
- 2 tablespoons red wine vinegar
- 1 tablespoon Dijon mustard
- 1 teaspoon dried oregano
- 1/2 teaspoon garlic powder
- 1/4 teaspoon red pepper flakes (optional)
- 1/4 cup chopped banana peppers (optional)
- Olive oil, for brushing
Instructions:
- Preheat and Prep: Preheat oven to 375°F (190°C). Slice the loaf of bread horizontally, creating a top and bottom half.
- Dress the Bread: In a small bowl, whisk together mayonnaise, red wine vinegar, Dijon mustard, oregano, garlic powder, and red pepper flakes (if using). Spread this mixture evenly over both the top and bottom halves of the bread.
- Layer the Meats: On the bottom half of the bread, layer the ham, salami, and pepperoni. Ensure the meats are distributed evenly.
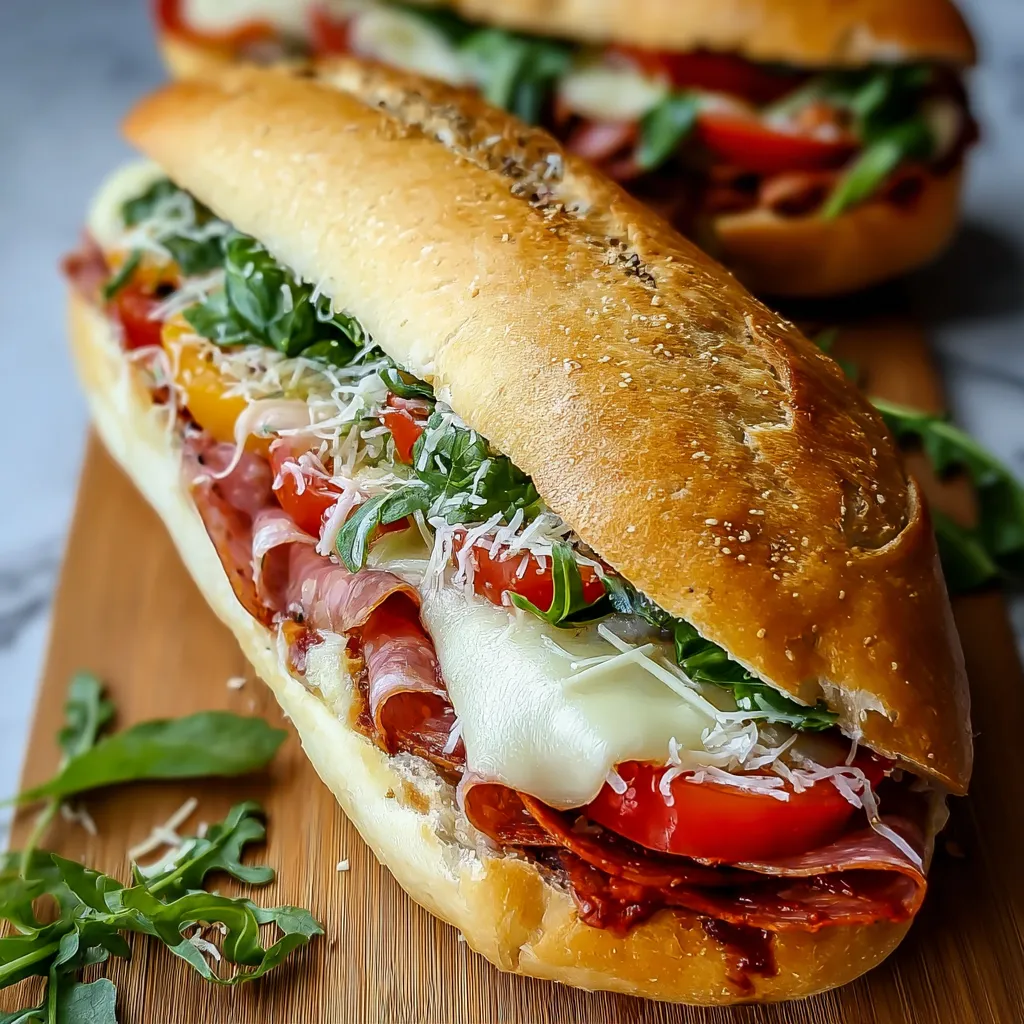
- Cheese Please: Top the meats with provolone and mozzarella cheese slices. Sprinkle grated Parmesan cheese over the top.
- Add the Peppers (Optional): If using, sprinkle the chopped banana peppers over the cheese.
- Top It Off: Carefully place the top half of the bread over the cheese and meats.
- Brush with Oil: Brush the top of the bread with olive oil. This will help it brown beautifully.
- Bake: Wrap the entire sandwich tightly in aluminum foil. Bake for 20 minutes.
- Unwrap and Brown: Remove the foil and bake for another 5-10 minutes, or until the cheese is melted and bubbly and the bread is golden brown. Keep a close eye on it, just like you would if you were making perfect Million Dollar Lasagna (https://easymealstoprep.com/perfect-million-dollar-lasagna/).
- Rest and Slice: Let the sandwich rest for 5-10 minutes before slicing and serving. This allows the cheese to set slightly and prevents it from oozing everywhere.
My Baked Italian Grinder Odyssey: A Tale of Trials and Triumphs
Like many of you, I initially thought a baked Italian grinder was a no-brainer. Throw some meat and cheese on bread, bake it, and boom – sandwich perfection. My first few attempts were a disaster. Soggy bread, cold spots, and a generally underwhelming experience plagued my early experiments. But I refused to give up. The quest for the perfect baked grinder had begun!The Soggy Saga: Battling Excess Moisture
My first hurdle was the sogginess. I loaded up the sandwich with what I thought was a reasonable amount of cheese and meats, but the bottom crust consistently turned into a mushy mess. My ‘Aha!’ moment came when I realized the moisture content of the ingredients was the culprit. Regular mozzarella, while delicious, releases a lot of water when heated. Switching to a lower-moisture mozzarella and being mindful of excess oil from the meats made a huge difference. This step is just as crucial as choosing the right noodles when preparing Baked Ziti (https://easymealstoprep.com/irresistible-baked-ziti-recipe/).The Cheese Conundrum: Achieving Melty Perfection
Next, I tackled the cheese distribution. Initially, the cheese would melt unevenly, leaving some areas gooey and others still cold and firm. The solution? Pre-slicing the cheese thinly and layering it strategically. This ensured that the heat could penetrate evenly and melt everything to a beautiful, stringy perfection.The Bread Battle: Finding the Right Foundation
The bread was another critical factor. My first attempts using a soft, fluffy loaf resulted in a collapsed, shapeless mess. I needed a bread with some structural integrity. Switching to a crusty Italian loaf with a sturdy crumb made all the difference. It held its shape beautifully and provided a satisfying crunch.The Foil Factor: Unveiling the Baking Secret
Finally, I experimented with different baking methods. Baking the sandwich uncovered resulted in a dry crust and unevenly melted cheese. Wrapping it tightly in foil for the first part of the baking process created a steamy environment that helped the cheese melt evenly and the bread become soft and pliable. Removing the foil for the last few minutes allowed the crust to crisp up beautifully. This step reminded me of the care and patience required to prepare a good batch of French Dip Sandwiches (https://easymealstoprep.com/best-french-dip-sandwiches/).The Foolproof Technique: Your Guide to Grinder Glory
After numerous experiments and taste tests, I’ve distilled the process down to a simple, foolproof technique:- Choose the Right Bread: Opt for a sturdy Italian or French loaf with a good crust.
- Control the Moisture: Use low-moisture mozzarella and drain excess oil from the meats.
- Layer Strategically: Distribute the meats and cheese evenly to ensure consistent flavor and texture.
- Dress the Bread: A flavorful mayonnaise-based spread adds moisture and enhances the overall taste.
- Foil It! Wrap the sandwich in foil for the first part of baking to melt the cheese evenly, then remove the foil to crisp the crust.
- Rest Before Slicing: Allowing the sandwich to rest for a few minutes after baking allows the cheese to set and prevents a messy, oozing situation.
Why is it important to wrap the sandwich in foil during baking?
Wrapping the sandwich in foil for the first 20 minutes of baking creates a steamy environment that helps the cheese melt evenly and the bread become soft and pliable. Removing the foil for the last 5-10 minutes allows the crust to crisp up.
What type of bread is best for a baked Italian grinder, and why?
A sturdy Italian or French loaf with a good crust is best. This type of bread provides structural integrity to hold the fillings and prevent the sandwich from collapsing during baking.
How do I prevent my baked Italian grinder from becoming soggy?
To prevent sogginess, use low-moisture mozzarella cheese and drain excess oil from the meats. Also, be mindful of the moisture content of other ingredients.
What is the key to achieving evenly melted cheese in a baked Italian grinder?
Pre-slice the cheese thinly and layer it strategically to ensure the heat can penetrate evenly and melt everything to a beautiful, stringy perfection. Wrapping in foil for part of the baking time also helps.
BEST BAKED ITALIAN GRINDER SANDWICHES
Ingredients
Equipment
Method
- Preheat oven to 375°F (190°C). Slice the loaf of bread horizontally, creating a top and bottom half.
- In a small bowl, whisk together mayonnaise, red wine vinegar, Dijon mustard, oregano, garlic powder, and red pepper flakes (if using).
- Spread this mixture evenly over both the top and bottom halves of the bread.
- On the bottom half of the bread, layer the ham, salami, and pepperoni. Ensure the meats are distributed evenly.
- Top the meats with provolone and mozzarella cheese slices. Sprinkle grated Parmesan cheese over the top.
- If using, sprinkle the chopped banana peppers over the cheese.
- Carefully place the top half of the bread over the cheese and meats.
- Brush the top of the bread with olive oil.
- Wrap the entire sandwich tightly in aluminum foil. Bake for 20 minutes.
- Remove the foil and bake for another 5-10 minutes, or until the cheese is melted and bubbly and the bread is golden brown.
- Let the sandwich rest for 5-10 minutes before slicing and serving.


")