
Unlocking the Flavor Vault: The Science Behind the Wrap
The success of a Cheesy Garlic Chicken Wrap hinges on a few key scientific principles that, once understood, can elevate your wrap game from amateur to expert. First, consider the Maillard reaction, the chemical reaction between amino acids and reducing sugars that gives browned food its distinctive flavor. This is paramount when cooking the chicken; a good sear is essential, not just for looks, but for flavor complexity. Then, there’s the delicate balance of flavors: garlic’s pungent allicin needs to be tempered by the richness of the cheese and the savory depth of the chicken. The acid in lemon juice also helps to cut through the richness of the cheese and garlic. Finally, moisture control is crucial. Soggy wraps are a textural nightmare. Understanding how each ingredient contributes to the final product is the key to consistent, delicious results.The Ultimate Cheesy Garlic Chicken Wrap Recipe
 This recipe provides a detailed guide to creating the perfect Cheesy Garlic Chicken Wraps, offering both the steps and the “why” behind each one.
Yields:
4 wrapsPrep time:
20 minutesCook time:
25 minutesIngredients:
- 1.5 lbs boneless, skinless chicken breasts, cut into 1-inch pieces
- 1 tablespoon olive oil
- 4 cloves garlic, minced
- 1 teaspoon dried oregano
- 1/2 teaspoon red pepper flakes (optional)
- 1/4 cup chicken broth
- 2 tablespoons lemon juice
- 1 cup shredded mozzarella cheese
- 4 large tortillas (burrito size)
- Salt and pepper to taste
- Optional toppings: chopped tomatoes, shredded lettuce, sour cream
Equipment:
- Large skillet
- Cutting board
- Knife
- Measuring cups and spoons
Instructions:
- Prepare the Chicken: Season the chicken pieces with salt, pepper, and oregano.
- Sear the Chicken: Heat olive oil in a large skillet over medium-high heat. Add the chicken and cook until browned on all sides and cooked through, about 5-7 minutes. The Maillard reaction is key here – don’t overcrowd the pan, or the chicken will steam instead of sear.
- Add Garlic and Flavor: Reduce the heat to medium. Add the minced garlic and red pepper flakes (if using) and cook for about 30 seconds, until fragrant. Be careful not to burn the garlic, as it will become bitter.
- Simmer and Deglaze: Pour in the chicken broth and lemon juice. Scrape up any browned bits from the bottom of the pan – this adds a ton of flavor! Simmer for 2-3 minutes, allowing the sauce to thicken slightly.
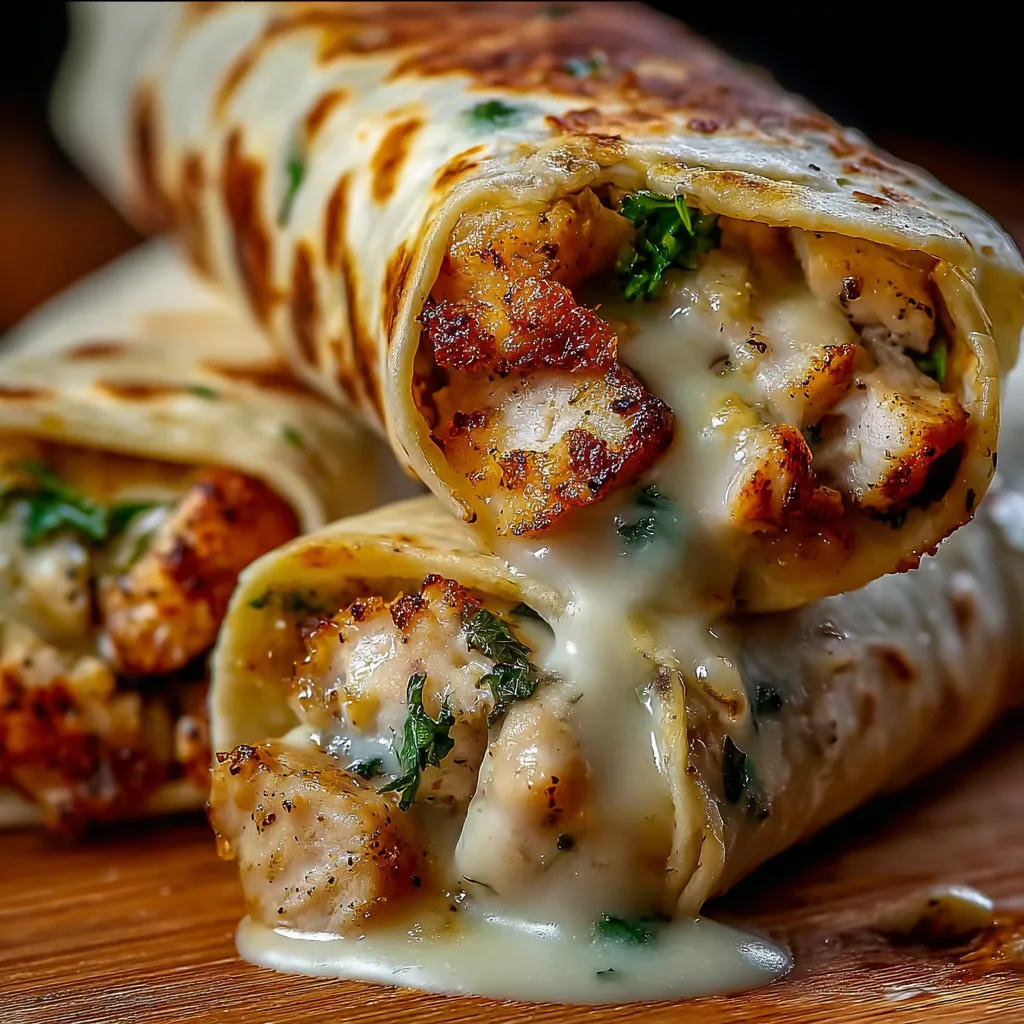
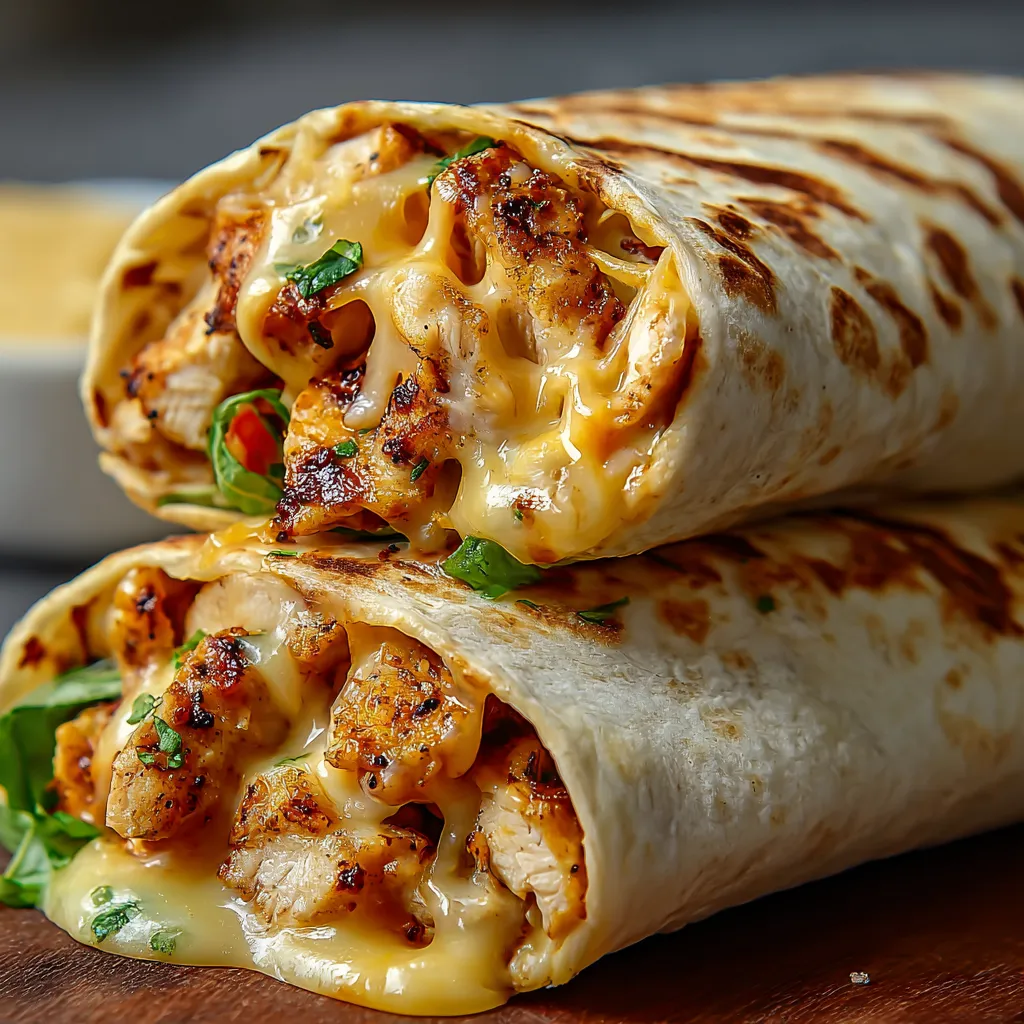
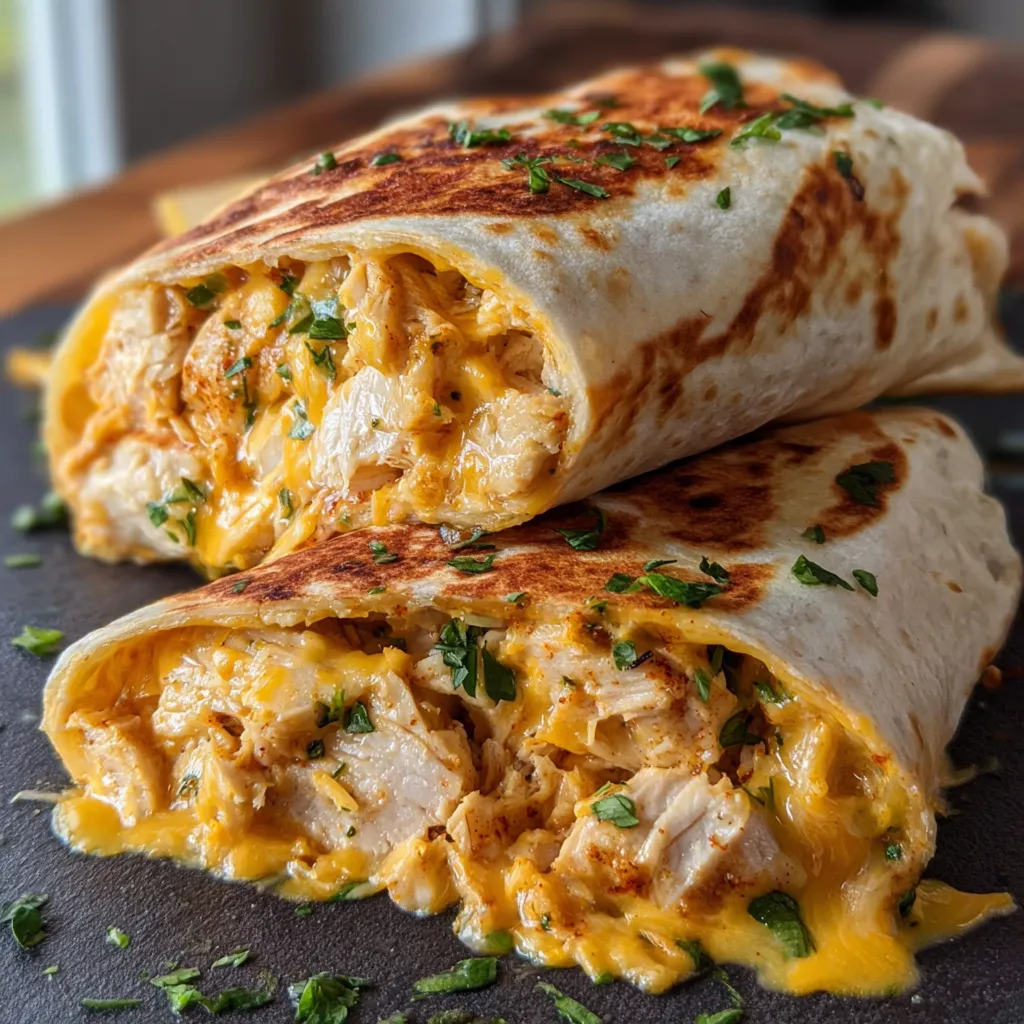
- Add Cheese: Stir in the shredded mozzarella cheese until it is melted and gooey, coating the chicken evenly.
- Assemble the Wraps: Warm the tortillas slightly (this makes them more pliable and less likely to tear). Spoon the cheesy garlic chicken mixture onto the center of each tortilla.
- Add Toppings (Optional): Add your desired toppings, such as chopped tomatoes, shredded lettuce, or a dollop of sour cream.
- Wrap It Up: Fold in the sides of the tortilla, then fold the bottom up and over the filling, and roll tightly to create a secure wrap.
- Serve Immediately: Enjoy your Cheesy Garlic Chicken Wraps while they are warm and the cheese is melty!
Confessions of a Culinary Investigator: My Cheesy Garlic Chicken Wrap Journey
My quest for the perfect Cheesy Garlic Chicken Wrap was not without its trials and tribulations. I’ve always loved wraps; they’re such a versatile and convenient meal. However, achieving that ideal balance of flavors and textures proved more challenging than I initially anticipated.The Soggy Saga
My first few attempts were a disaster. The wraps were consistently soggy, the chicken bland, and the garlic overwhelming. Like many of you, I initially thought that simply throwing all the ingredients together would suffice. I was wrong. The biggest culprit was the moisture content of the chicken and the cheese. I was using pre-shredded cheese which often contains cellulose to prevent clumping, but also inhibits melting and contributes to a grainy texture.The Garlic Gauntlet
Then, I had an ‘Aha!’ moment regarding the garlic. Raw garlic, while delicious, can be overpowering in a wrap. Roasting the garlic beforehand mellowed its intensity, adding a subtle sweetness that complemented the other ingredients beautifully. I tried incorporating roasted garlic cloves that I usually save when making Chicken Wraps , and it was a game changer.The Cheese Conundrum
The cheese also presented its own set of challenges. Using too much cheese resulted in a greasy, heavy wrap. Using too little, and the wrap lacked that signature cheesy goodness. I experimented with different types of cheese, from cheddar to provolone, before finally settling on mozzarella for its mild flavor and excellent melting properties. I also learned that freshly grated cheese melts much better and more evenly than pre-shredded cheese. I even tried making a sauce similar to the Chicken Mozzarella Wraps sauce with different types of cheese!The Tortilla Tango
Finally, the tortilla itself played a crucial role. I found that warming the tortillas slightly before assembly made them more pliable and less prone to tearing. I also experimented with different types of tortillas, from flour to whole wheat to corn, each offering a unique flavor and texture. I even tested making my own tortillas at one point, but that was more work than I was willing to commit to on a regular basis. Now, I sometimes prepare a batch of Garlic Chicken Wraps and freeze them for later consumption.The Foolproof Wrap Technique: From Flop to Fantastic
After countless experiments and taste tests, I’ve distilled the process down to a simple, foolproof technique. Follow these steps, and you’ll be on your way to Cheesy Garlic Chicken Wrap perfection. This method has not only perfected my Cheesy Garlic Chicken Wraps, similar to that of Cheesy Garlic Chicken Wraps, but also my confidence in the kitchen.- Dry Brine the Chicken: Season the chicken with salt at least 30 minutes before cooking. This helps retain moisture during cooking, preventing a dry, bland wrap.
- High Heat Sear: Sear the chicken over high heat to develop a flavorful crust. This is non-negotiable. The Maillard reaction is your friend!
- Garlic Infusion, Not Assault: Gently sauté the garlic in the rendered chicken fat. Avoid burning. Think fragrant, not acrid.
- Deglaze with Acid: Use lemon juice or a splash of vinegar to deglaze the pan, lifting up those flavorful browned bits.
- Freshly Grated Cheese Only: Skip the pre-shredded cheese. Freshly grated cheese melts better and tastes better.
- Warm Tortillas: Warm tortillas are pliable tortillas. A few seconds in a dry skillet or microwave does the trick.
- Don’t Overfill: Resist the urge to overstuff your wraps. Less is more. Nobody wants a burst wrap.
- Roll Tight, Seal Right: Fold in the sides, then roll tightly from the bottom up, creating a secure seal.
- Serve Immediately: Warm wraps are happy wraps. Enjoy them right away!
What makes this Cheesy Garlic Chicken Wrap recipe different from other similar recipes?
This recipe focuses on the ‘why’ behind each step, explaining the scientific principles like the Maillard reaction and the importance of moisture control to achieve restaurant-quality flavor and texture.
Why is searing the chicken so important in this recipe?
Searing the chicken, which triggers the Maillard reaction, is essential for developing a deep, complex flavor. It’s not just for appearance; it significantly enhances the overall taste of the wrap.
Why does the recipe recommend using freshly grated cheese instead of pre-shredded?
Pre-shredded cheese often contains cellulose which inhibits melting and can result in a grainy texture. Freshly grated cheese melts better and more evenly, contributing to a smoother, cheesier filling.
What is the key to preventing soggy Cheesy Garlic Chicken Wraps?
Dry brining the chicken beforehand and avoiding overfilling the wrap are crucial steps. Also, using freshly grated cheese and not pre-shredded helps reduce the moisture content.
Cheesy Garlic Chicken Wraps
Ingredients
Equipment
Method
- Season the chicken pieces with salt, pepper, and oregano.
- Heat olive oil in a large skillet over medium-high heat.
- Add the chicken and cook until browned on all sides and cooked through, about 5-7 minutes.
- Reduce the heat to medium.
- Add the minced garlic and red pepper flakes (if using) and cook for about 30 seconds, until fragrant.
- Pour in the chicken broth and lemon juice.
- Scrape up any browned bits from the bottom of the pan.
- Simmer for 2-3 minutes, allowing the sauce to thicken slightly.
- Stir in the shredded mozzarella cheese until it is melted and gooey, coating the chicken evenly.
- Warm the tortillas slightly.
- Spoon the cheesy garlic chicken mixture onto the center of each tortilla.
- Add your desired toppings, such as chopped tomatoes, shredded lettuce, or a dollop of sour cream.
- Fold in the sides of the tortilla, then fold the bottom up and over the filling, and roll tightly to create a secure wrap.
- Serve immediately while warm.


")